
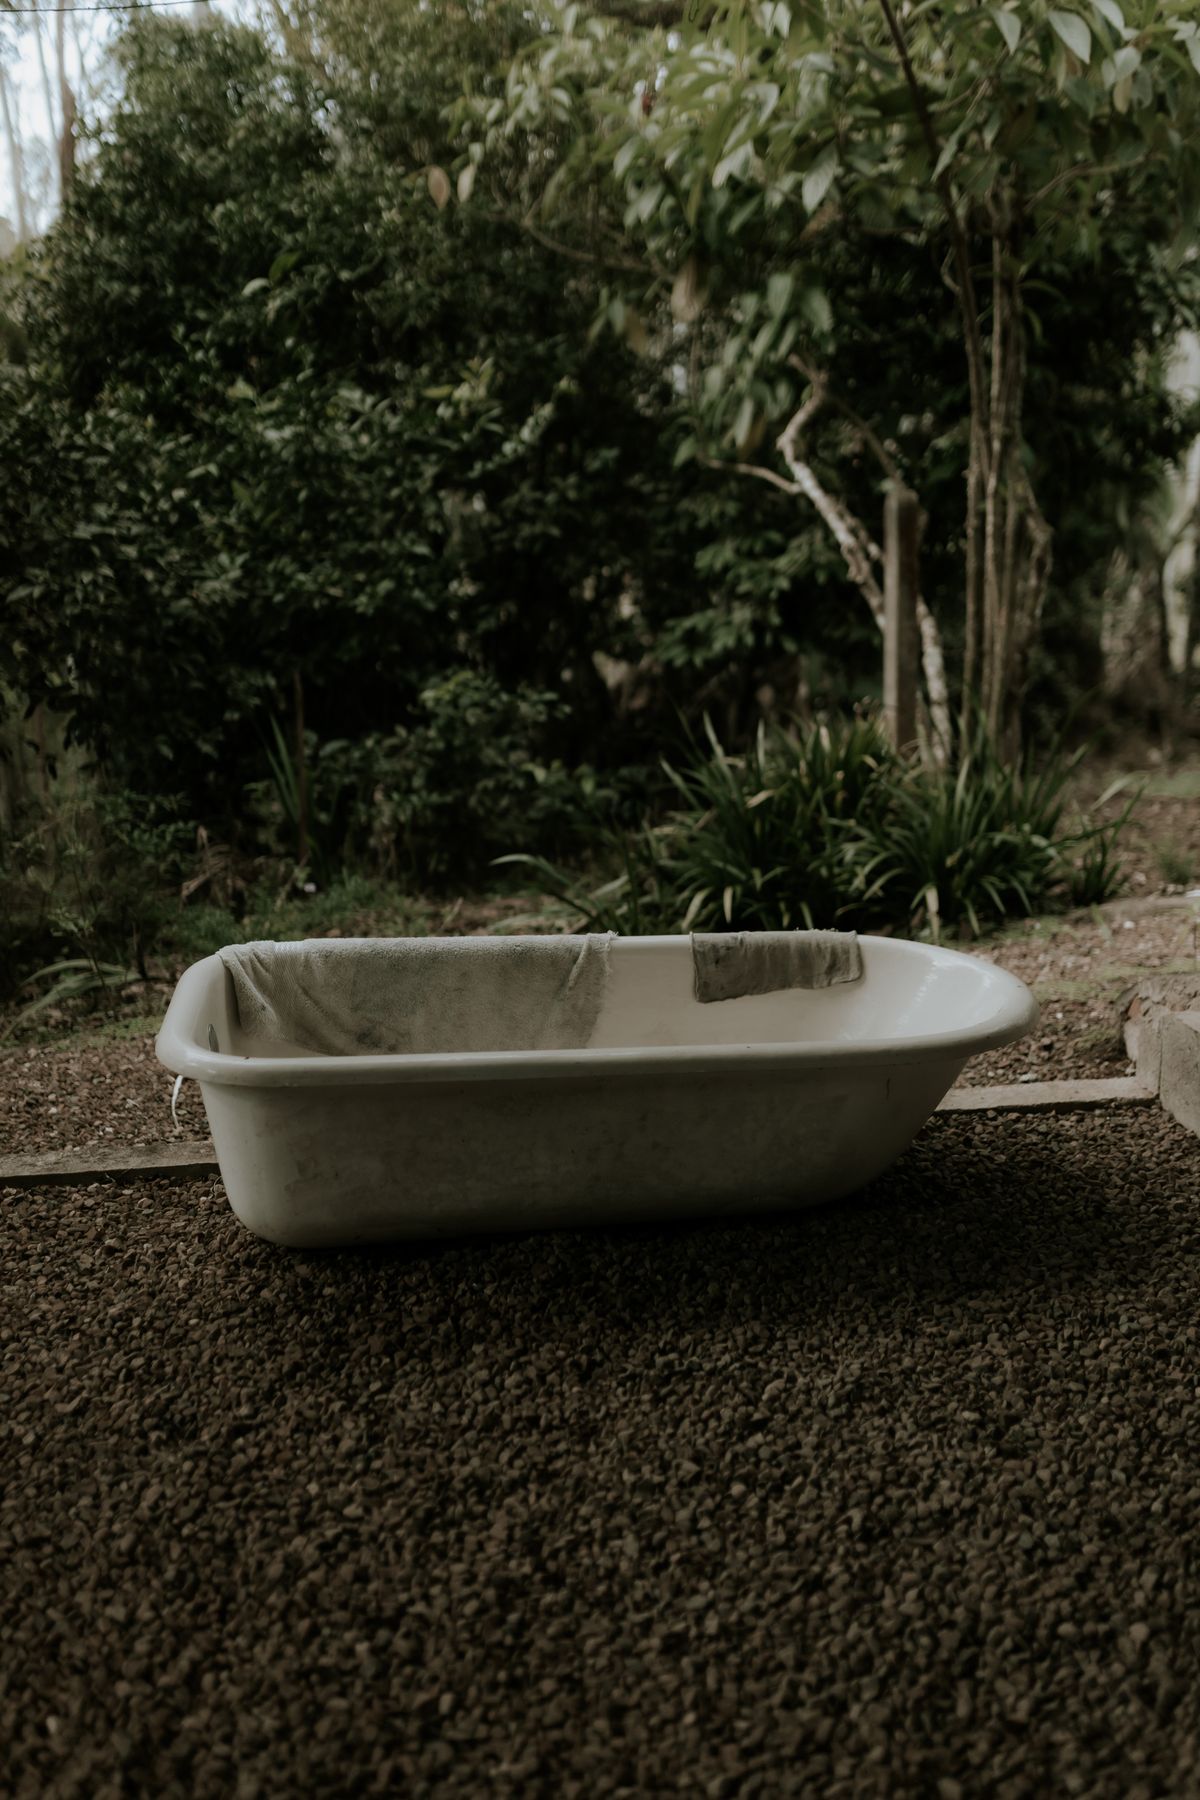
You do not need a $6,000 plunge with a chiller and an app. You need cold water and a plan. I ran my first year of cold exposure out of a bathtub and a few bags of ice, and it worked exactly as well as the fancy setup you can find now, I still run a pop up tub in my back yard (Living in England means 10 C most of the year with no ice needed).
Here’s the protocol, then the gear by budget so you can start this week at whatever level you’re at.
The protocol: aim for about 11 minutes a week
This is the target Huberman lands on from the research, and it’s a good one: roughly 11 minutes of deliberate cold per week, total. Not per session. Total. Split it across 2 to 4 sessions of 1 to 5 minutes. That’s it. More isn’t better once you’re getting the effect, and the weekly number keeps you honest.
Temperature is a feel, not a fixed figure. The target is uncomfortably cold but safe: water you genuinely want to get out of but know you can sit in for a few minutes. For most people that lands somewhere around 10-15 °C (50-59 °F). Beginners should start at the warm end and work down over weeks, not days (the four-week ramp is in What is an Ice Bath?).
What to do while you’re in
- Win the first 30 seconds. Slow, controlled breathing. This is the whole skill.
- Count your walls. Every urge to jump out is a wall to climb over. Aim for three to five a session. You’re training calm under stress, not just enduring cold.
- Want more stimulus without colder water? Move your hands and feet. Stirring the water breaks the slightly warmer layer your body builds around your skin and raises the intensity. Same trick as slowing a rep to make a lighter weight harder.
- End on cold, then rewarm yourself. Skip the hot shower. Dry off, get warm clothes on, and walk it off. Letting your body reheat on its own is the Søberg principle, and it’s where the metabolic benefit lives.
Two timing rules that matter: do it early in the day (cold boosts alertness and nudges body temperature up, which is great in the morning and bad at bedtime), and keep it away from weights sessions. The four hours after lifting are the danger window for blunting gains, so plunge before you train or six to eight hours after (the why is in 10 science backed benefits of ice baths).
The gear, by budget
Tier 0. Free-ish: your bathtub and ice
The one everyone should start with. Fill the tub with the coldest tap water, get in, and add ice from there. A few bags, roughly 10 to 20 lb, will pull a standard tub into the low teens °C. You’ll dial in the amount with a cheap thermometer. Zero commitment, and it tells you fast whether you’ll actually stick with this before you spend a penny.
Buy: a floating thermometer (about £10). That’s the only essential. Or as I started I was using my Garmin Fenix 5 watch sensor to measure the water back then.
Tier 1. Cheap and outdoors: a stock tank or tub
Once you know you’re in, move it outside so you’re not hauling ice through the house. A hard plastic stock tank (the kind used for livestock water) or a large tub holds enough water to submerge to the neck and costs less than a nice pair of trainers. Cold tap plus ice, or in winter, just the cold. Keep it covered between sessions to keep leaves and bugs out and add a little chlorine and the water will last for weeks.
A word on the “chest freezer plunge” DIY: it works, but water plus mains electricity is a genuine hazard. If you go that route, use a proper GFCI/RCD outlet and get an electrician to check it. Don’t wing this one.
Tier 2. The real thing: a dedicated cold plunge
When cold becomes a permanent habit and you’re tired of buying ice, a purpose-built plunge earns its price. Skip the brand names for a second and buy on the features that matter:
- A chiller that holds your set temperature (no more ice runs)
- Filtration so the water stays clean for weeks
- Good insulation to hold temperature efficiently
- Enough depth to sit submerged to the neck
These run from a few hundred for an insulated tub with a separate chiller to several thousand for an all-in-one. Worth it if you plunge year-round. Overkill if you’re still deciding.
Keep the water clean
Whatever tier you’re on: cover it, filter or change the water regularly, and don’t share murky water with the neighbourhood wildlife. A chiller with filtration handles this for you. A stock tank means draining and refilling every week or two, or a little dilute chlorine and a cover.
My actual routine
For the curious: three or four mornings a week, water around 11 °C, ten to fifteen minutes, after my breathing has settled. I end on cold, do light exercise (still wet) jumping Jacks, pull-ups, press-ups etc.., then dry myself (staying outside now dry) few more minutes(3-5) of exercise, then get inside to drink my tea (Ginger, honey, lemon) in small sips letting it warm you from inside and hydrate you at the same time (you get dehydrated with cold exposure), finally to get dressed with warm clothes and I never plunge on a heavy leg day. Nothing exotic.
The exotic part was showing up when I didn’t feel like it, which was most days at the start. Do this slow, exercise based routine, drink something hot, tea (ginger helps dilate the peripheral vessels), water or soup and you will avoid the uncontrollable chills and keeps it safe for the heart.
That’s the whole system. Don’t wait for the perfect tub. Fill a bathtub tonight, add ice, and start. The gear can catch up to the habit.
New here? Start at What Is an Ice Bath?. Not sure it’s worth it yet? 10 Science-Backed Benefits. And before your first real plunge, the five-minute read that keeps it safe: Ice Bath Safety.
Leave a Reply